
Your orders API works on your laptop. Now you want to point an external test environment at it and see what happens when it sends a real request. Can it create an order? What does it get back when a required field is missing?
With HTTP tunnels in Adal Cloud, you can test that exchange against the code running on your machine. Give the external system the tunnel’s public HTTPS URL and connect Adal CLI. The system gets your application’s response to the original request, and you can see how the exchange went in the dashboard.
From a public URL to your local API
When you create a tunnel, you choose a region for its public HTTPS address. Run Adal CLI on a machine that can reach your service. The CLI opens an outbound connection to Adal Cloud, so the machine can stay behind your router or firewall without a public IP address or an open inbound port.
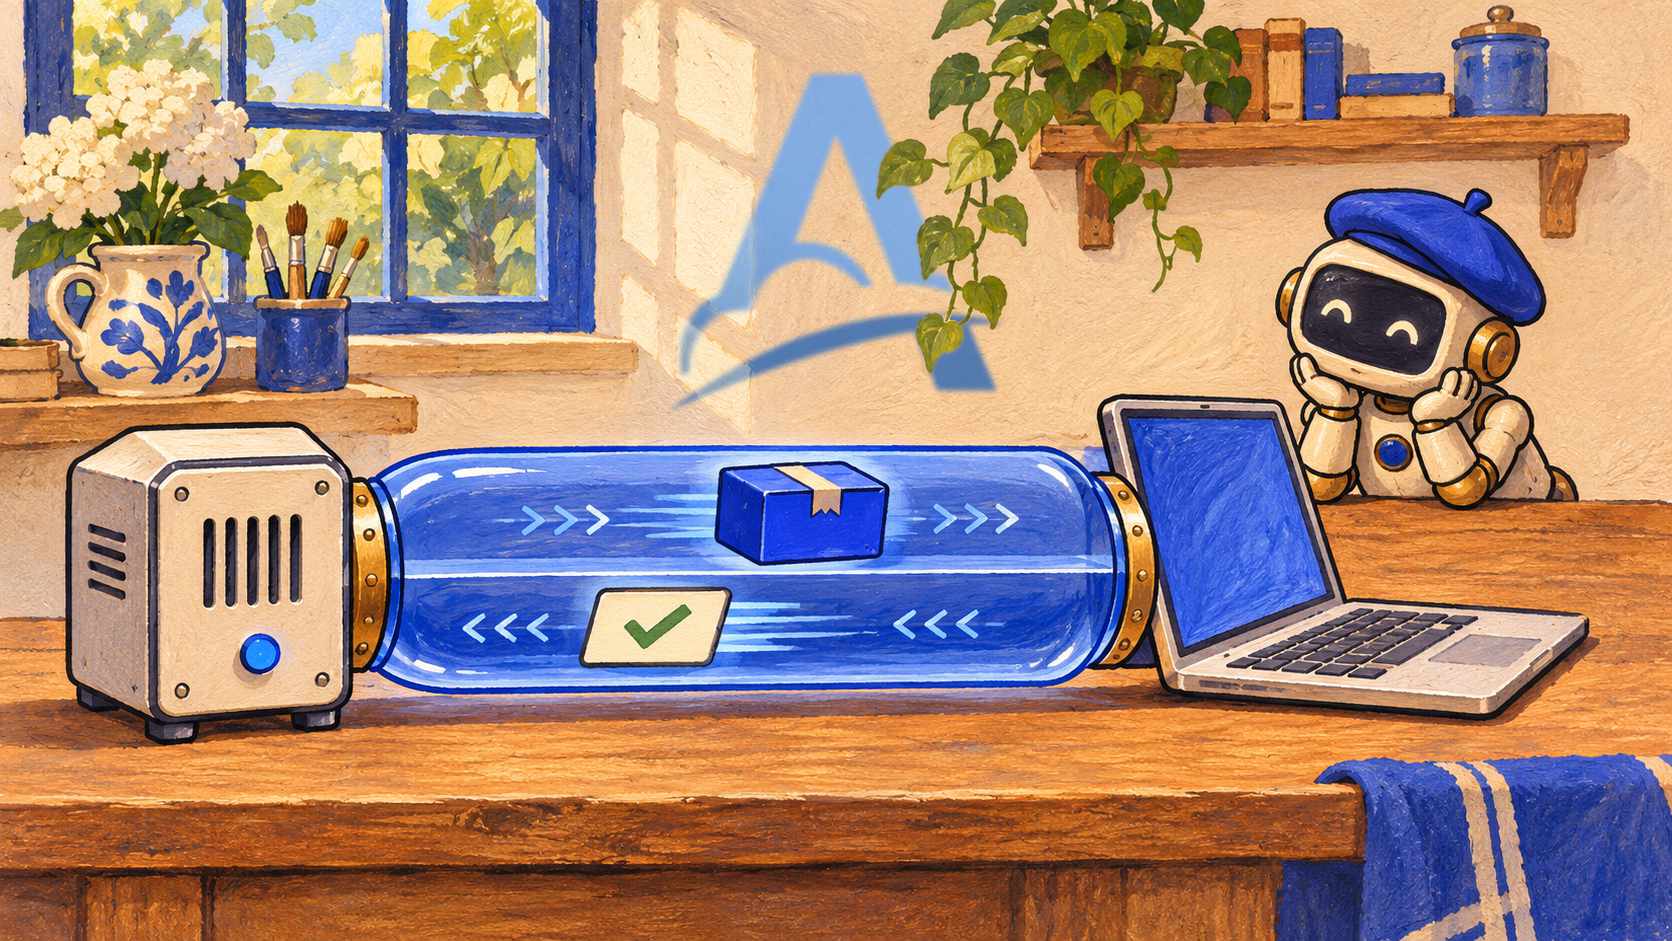
Request — External client → tunnel URL → Adal CLI → local API
Response — Local API → Adal CLI → tunnel → external client
Say you set Endpoint URL to http://127.0.0.1:3000/api. When the external system sends POST /orders?source=test to the tunnel URL, Adal CLI calls http://127.0.0.1:3000/api/orders?source=test. If your API returns 201 Created with an order ID in the JSON body, that’s what the client gets. If a required field is missing and your API returns 400 Bad Request, the client gets that response and can handle it as it normally would.
The same setup works when you want a teammate to try an API you’re building or need to reproduce a bug that only shows up when a request comes from another environment.
See what happened on both sides
Open Tunnels → Requests in the dashboard and select an exchange. You can see the HTTP status, where the response came from, and whether the transfer completed. If you see a 502, for example, the response source tells you whether it came from your API or from Adal Cloud. You can also spot cases where your application sent 200 OK but the connection dropped before the full response body came through.
Each tunnel has separate Save request and Save response settings. Turn on either or both to inspect the headers and bodies that were saved. Saved HTTP data expires 90 days after the request arrives. The journal records the outcome and byte counts even with both settings turned off.
When to use a tunnel
Use a tunnel when the caller needs a response from your application while the request is still open. Adal CLI needs to be connected and able to reach the service. Tunnel calls have no delivery queue or automatic retries.
For webhook workflows where you want to accept an event and deliver it to a handler separately, use Inbound. A Server in Adal Cloud accepts the event, and delivery follows your configured route, with retries when configured.
Connect your first tunnel
Open Tunnels in the dashboard and select Create tunnel.
Choose a region and set Endpoint URL to your service’s base URL, for example
http://127.0.0.1:3000.Open CLI token on the tunnel card, create a token, and use it to start Adal CLI v1.0.3 or later.
Once the tunnel is Online, send a request to its public HTTPS URL and open the corresponding entry in the journal.
Start with a test service intended to receive external requests. Tunnel traffic draws from your account’s shared traffic balance. Usage is based on the request and response body bytes actually received, regardless of your storage settings.
The HTTP tunnel quickstart includes a small test service you can run locally and commands for macOS, Linux, and Windows.