
Create an account
Open dashboard registration, enter your email and password, then confirm your email using the message. Password registration does not sign you in automatically: sign in after confirmation. If the message is missing, check the address and use the resend action on the confirmation screen.
Google and GitHub buttons are also available on the sign-in and registration pages. Choose a provider and complete its flow. If Adal requests email confirmation, complete it using the Adal email. Use the sign-in options shown on the page.
Sign-in and sessions
The remember-sign-in checkbox applies to password login; Google/GitHub retain sign-in on the device. Open Settings in the account menu. Sessions shows sessions and lets you terminate another session or all other sessions. Log out ends the current sign-in; merely closing a tab does not.
Settings also manages password, email and Google/GitHub connections. If your account has no password, use Set password and its email to set the first one. Do not terminate other people's sessions or sessions you still need while following an example.
Three different credentials
| Credential | Purpose | Where it is used |
|---|---|---|
| Dashboard session | Human interaction with the interface | Web UI sign-in |
| API token | Outbound calls from an application | Authorization: Bearer <API-token> |
| Channel CLI token | Connect Adal CLI to a specific Channel | CLI startup parameters |
Do not use your account password or browser session instead of an API token in an integration. An API token does not replace a Channel CLI secret. See the separate CLI guide.
Create an API token
Open the account menu → API Tokens (
/settings/api).Choose Create token and enter a useful name, such as
Webhook integration.Optionally add notes without secrets.
Select 30, 60 or 90 days, or Custom date (UTC). A custom date is inclusive until the next UTC midnight; expiration cannot be changed after creation.
Create the token and immediately copy its displayed secret to your application's secure storage.
The secret is shown only once. Neither the list nor the token details can retrieve it again. If it is lost, create a new token and replace it in the integration. Creating a token does not automatically revoke the others.
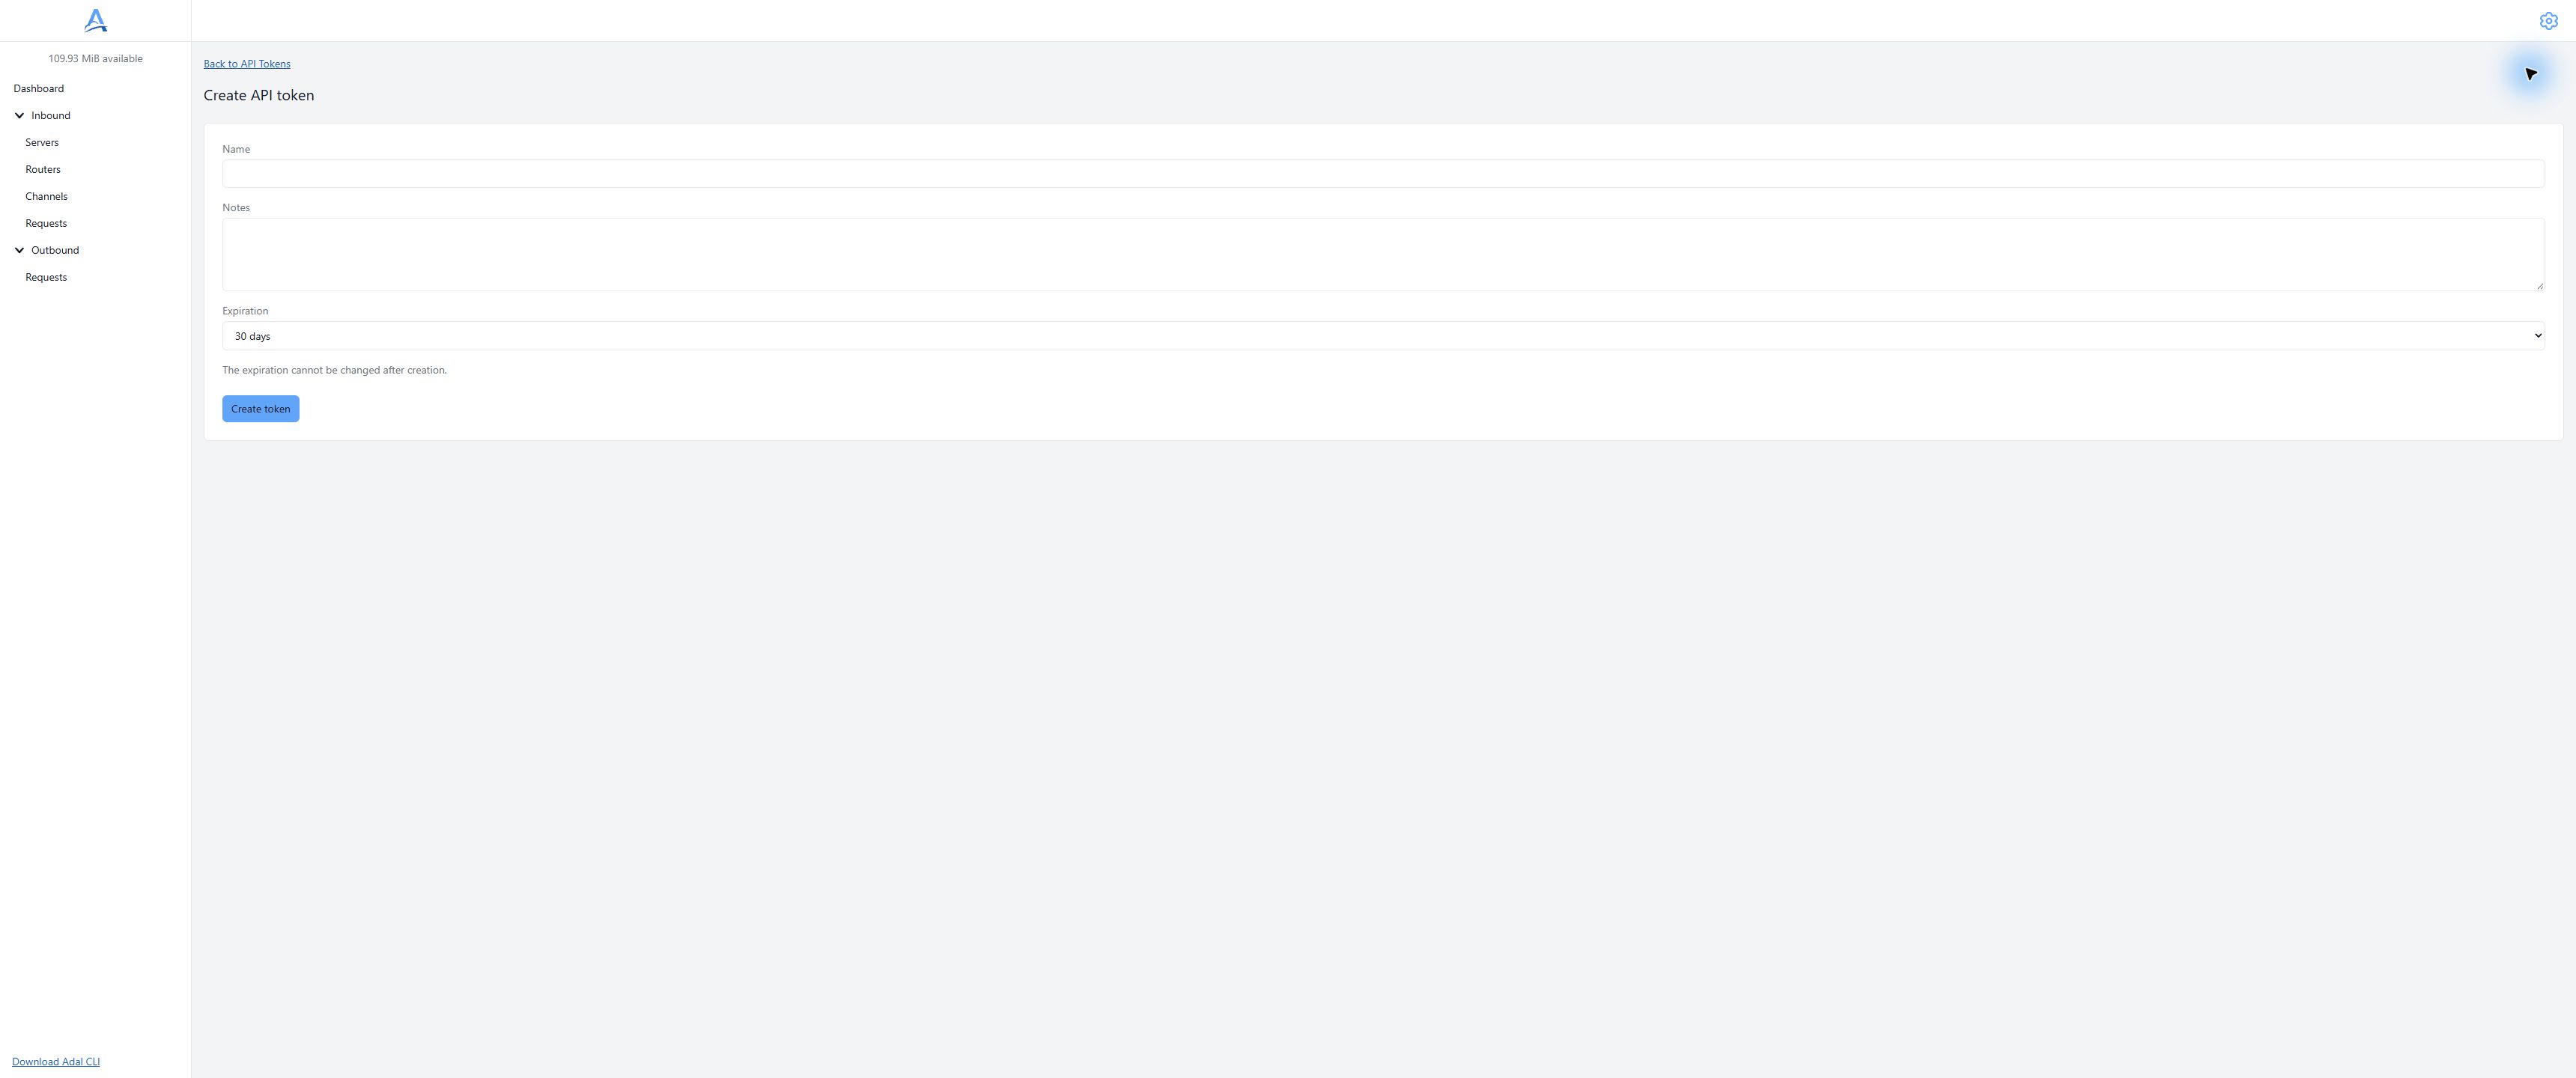
New API token settings before a secret is issued. Demonstration dashboard, English interface. Open full-size screenshot.
Use a token
Send the secret only to the public API at https://api.adal.cloud:
Authorization: Bearer <API-token>
Keep it out of URLs, Git, example source, screenshots and error messages. Do not send it to the documentation website or an external HTTP recipient. To submit a request, follow the Outbound quickstart.
Status and revocation
The list shows active, expired or revoked, expiration and last use. Token details allow editing its name and notes. An expired or revoked token does not authorize API calls; its record remains in the list.
For rotation, configure the new secret in your application and verify a call before confirming revocation of the old token in its details. Revocation is irreversible. It prevents new authorized calls using that token; it does not cancel Outbound jobs already accepted.
Troubleshooting
Confirm your email if sign-in reports an unconfirmed address.
Use Forgot password and the service email to reset a forgotten password.
For API errors, check that you are using an API token, the correct API address and a secret that has not expired or been revoked.
Revoke and replace leaked tokens. Give support an error code and time, not a secret or a complete HTTP request.